Table of Contents
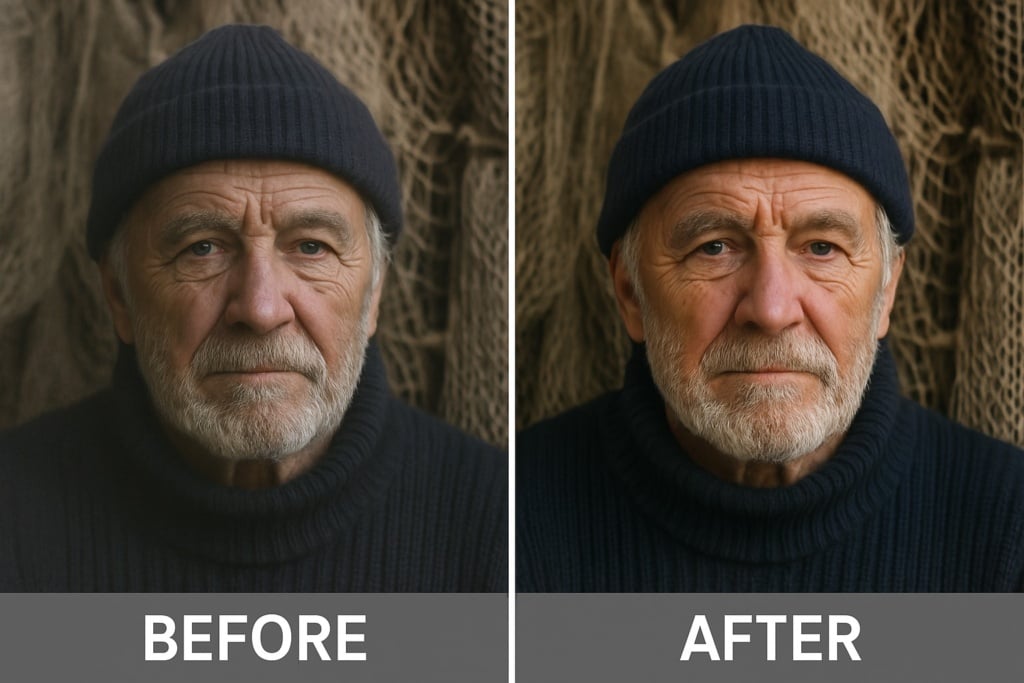
In today’s digital age, high-quality images are essential for personal memories, professional branding, and effective online communication. Whether you’re showcasing products, sharing breathtaking landscapes, or creating engaging content for social media, ensuring your photos are clear and vibrant can make all the difference. In this comprehensive guide, we’ll explore what defines photo quality, the key techniques to enhance it, and the best tools—from professional software to free alternatives and AI-powered online services—that can help you transform your images.
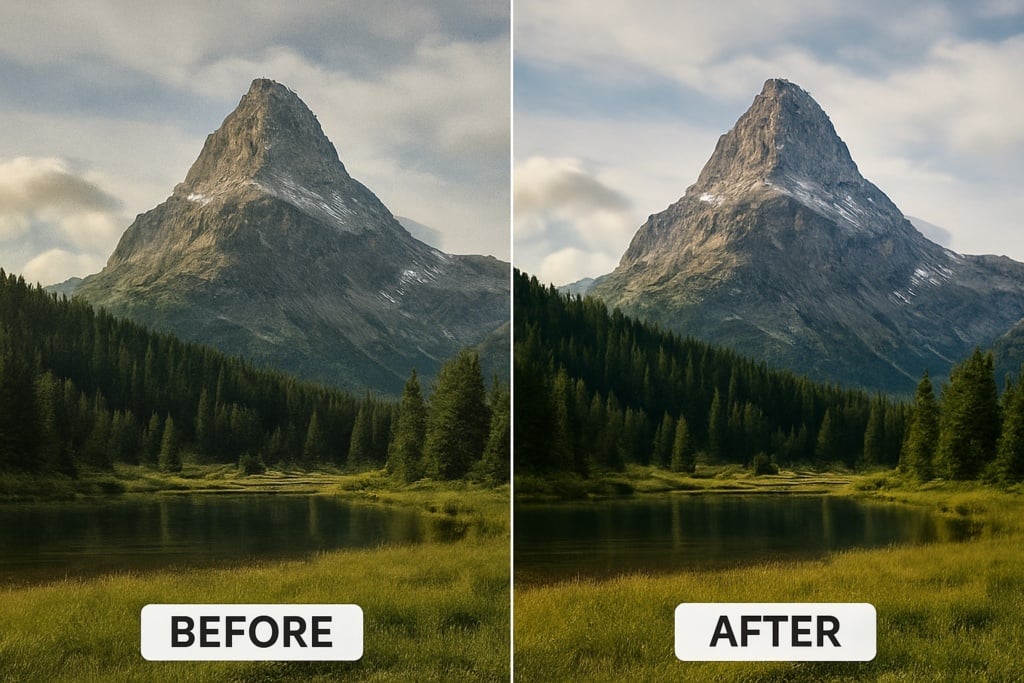
What Defines Photo Quality?
Photo quality is determined by a combination of technical factors that influence how detailed and realistic an image appears. Here are the core elements:
- Resolution:
Measured in pixels, resolution represents the amount of visual information in an image. More pixels generally equate to greater detail and clarity, especially when the image is enlarged. - Sharpness:
Sharpness refers to the clarity of edges and fine details. It is influenced by proper focus during shooting and can be enhanced in post-production through sharpening techniques. - Exposure:
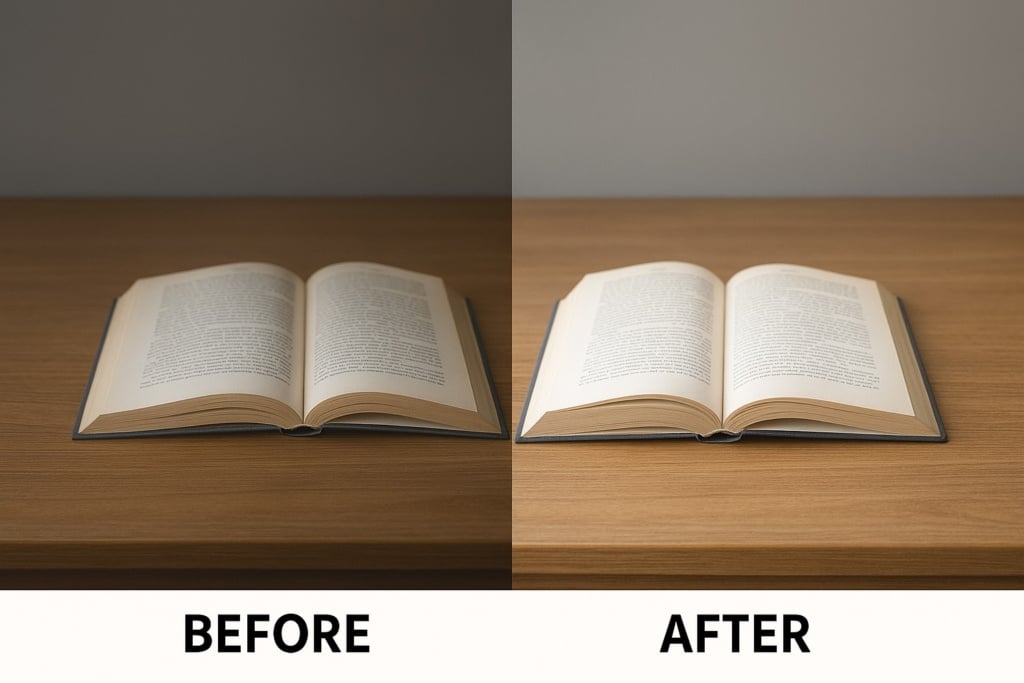
Exposure is the amount of light that reaches the camera sensor. Proper exposure ensures that no parts of the image are too dark (underexposed) or too bright (overexposed), allowing details in both highlights and shadows to be visible. - Color:
The overall color balance, saturation, and contrast are crucial. A well-balanced image features natural, true-to-life colors, while proper saturation makes an image visually appealing without appearing overly processed. - Noise Reduction:
Noise appears as grain or speckles, particularly in low-light images. Effective noise reduction techniques help produce cleaner, more detailed images. - Contrast and Dynamic Range:
Contrast highlights differences between light and dark areas, while dynamic range measures an image’s ability to display detail in both bright and dark areas simultaneously.
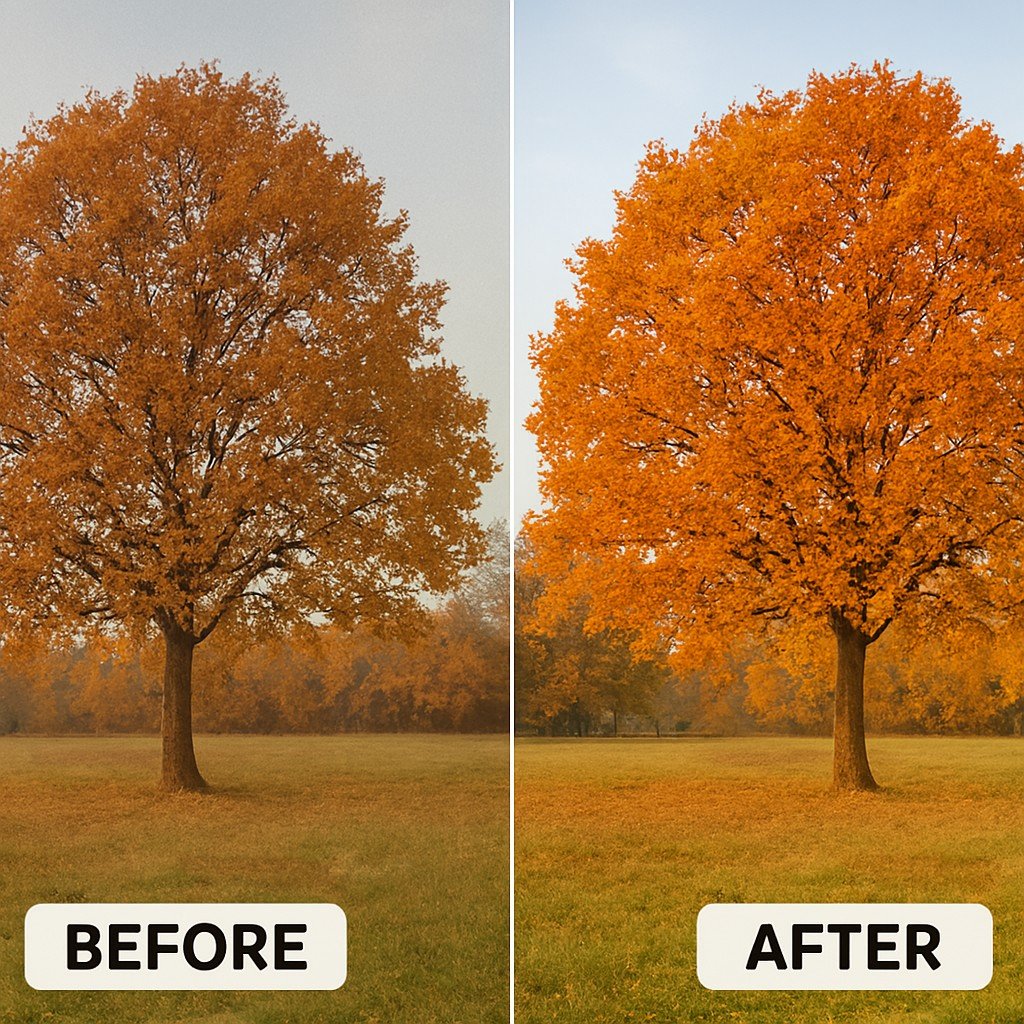
Key Photo Editing Techniques
Improving photo quality involves a mix of global adjustments and targeted refinements. Here are the main techniques used in photo editing:
- Upscaling and Super-Resolution:
These techniques involve increasing the pixel count to add detail, especially when enlarging an image. Traditional upscaling uses interpolation methods, while AI-driven super-resolution enhances details more effectively. - Color Correction:
Adjusting white balance, saturation, and tone ensures the colors are accurate and appealing. Tools in Adobe Photoshop and Adobe Lightroom offer precise control for these adjustments. - Noise Reduction:
Advanced algorithms remove digital noise while preserving critical details, a feature found in many professional editing suites. - Sharpening:
Techniques like Unsharp Mask and other sharpening filters improve edge clarity, making your image appear more detailed. It’s important to balance sharpening to avoid creating artifacts. - Local Adjustments:
Using tools like adjustment brushes and cloning tools allows you to enhance or correct specific areas without affecting the entire image. - Cropping and Composition:
Sometimes, a simple crop can eliminate distractions and focus on the subject. Using composition guidelines like the rule of thirds can dramatically improve the overall impact of a photo. - Creative Filters and Effects:
Artistic filters (e.g., vignette, sepia, black & white) can add mood or correct certain issues, but they should be applied subtly to maintain image integrity.
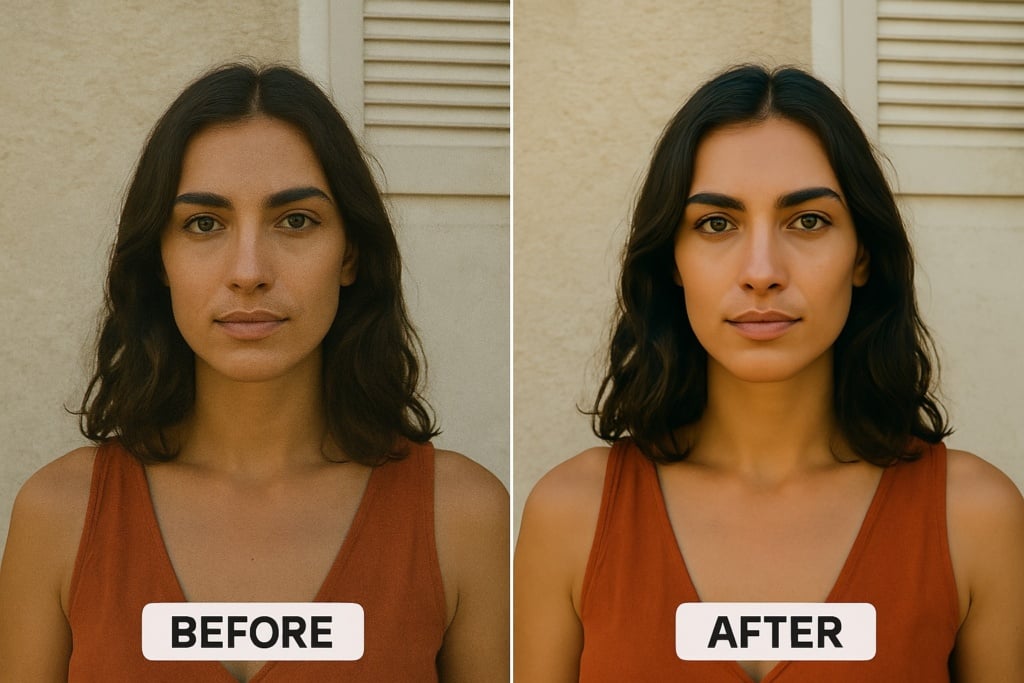
Professional Tools and Software
For those seeking advanced control over image enhancement, professional-grade software provides a wide array of tools:
Adobe Photoshop
Photoshop remains the industry standard for professional photo editing. Its robust features include:
- Resampling and Super-Resolution: Advanced algorithms allow you to increase image resolution without losing detail.
- Color Correction: Powerful tools for curves, levels, and white balance adjustments.
- Noise Reduction & Sharpening: Multiple filters and plugins let you fine-tune image clarity.
- Local Retouching: Use cloning, healing, and masking tools to target specific areas.
Adobe Lightroom
Lightroom is ideal for photographers who manage large volumes of images:
- Efficient Workflow: Organize, edit, and export hundreds of photos quickly.
- Global and Local Adjustments: Fine-tune exposure, contrast, and color balance effortlessly.
- Seamless Integration with Photoshop: Easily transfer images between Lightroom and Photoshop for complex edits.
Other Professional Software
- Capture One: Praised for its excellent color management and RAW processing capabilities.
- Corel PaintShop Pro: A strong alternative to Photoshop, offering powerful editing tools with a one-time purchase.
- Affinity Photo: A cost-effective, single-purchase software with professional-level editing features.
Free and Open-Source Alternatives
If you’re on a budget or prefer open-source solutions, there are excellent alternatives available:
GIMP (GNU Image Manipulation Program)
GIMP is a powerful, free editing program offering:
- Advanced Editing Tools: Features for color correction, exposure adjustment, and more.
- Extensibility: Supports plugins and scripts to expand its capabilities.
- Customizable Interface: Tailor the workspace to suit your editing style.
Darktable and RawTherapee
These applications are designed for processing RAW files:
- Darktable: Provides a non-destructive workflow for comprehensive RAW editing.
- RawTherapee: Known for its detailed demosaicing and noise reduction capabilities.
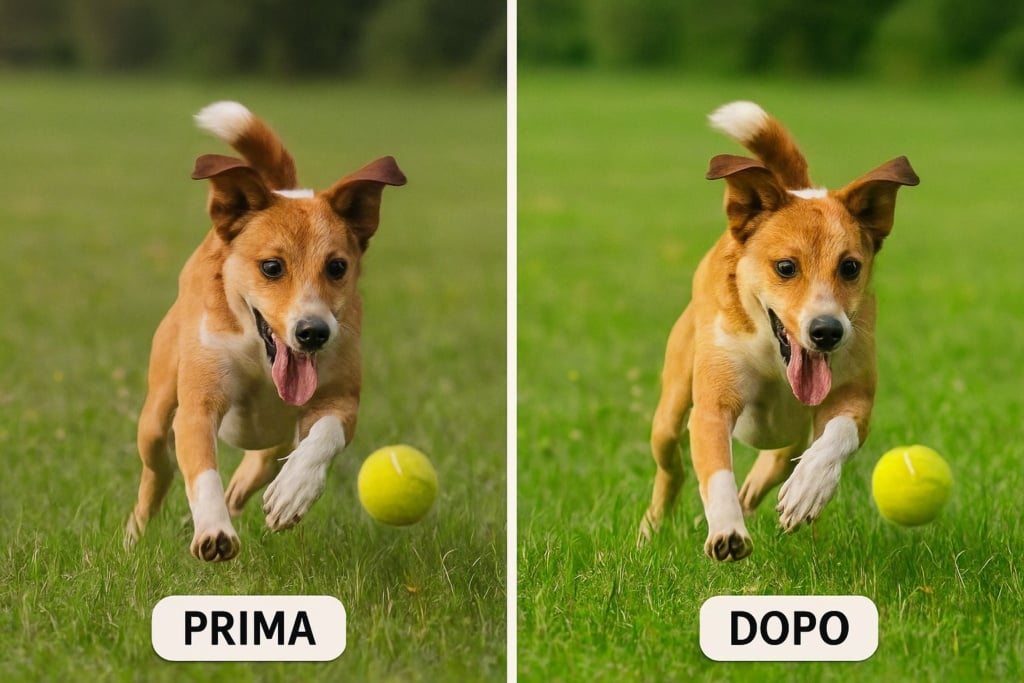
Online Alternatives
- Photopea: An online editor that mimics Photoshop’s interface and functionality.
- Other Online Tools: Services like Let’s Enhance, Upscale.media, and PicWish offer AI-driven enhancements directly in your browser.
Advantages of Free Alternatives
- Cost-Effective: These tools are free to use, making them accessible for everyone.
- Community Support: Extensive user communities provide tutorials, plugins, and support.
- Flexibility: Open-source software can be modified to meet specific needs through plugins and custom scripts.
Online Solutions and AI-Based Services
AI-powered online tools have transformed the editing process, enabling quick and effective improvements without advanced technical skills:
- Resolution Increase & Super-Resolution:
Tools such as Let’s Enhance, Upscale.media, and PicsArt utilize AI models to add pixels intelligently, enhancing image details even when enlarging photos. - Automatic Color and Exposure Correction:
Online services like Adobe Express analyze images to automatically adjust exposure, contrast, and color balance for a more natural look. - Noise Reduction and Sharpening:
AI algorithms can differentiate noise from true detail. Tools such as PicsArt and Remini offer automated noise reduction and sharpening that refine images effectively. - User-Friendly Interfaces:
Many AI-based solutions are browser-based, eliminating the need for heavy software installation and offering intuitive interfaces ideal for beginners. - Batch Processing and API Integration:
Some platforms provide batch processing features and APIs, enabling businesses to integrate image enhancement into their workflows or applications seamlessly.
Mobile Applications for Enhancing Photo Quality
With most photography now occurring on mobile devices, editing apps have become indispensable for quick adjustments on the go:
- Remini:
An AI-powered app that transforms old, blurry, or low-resolution photos into high-definition images by restoring clarity and reducing noise. Note that the free version may include ads and usage limits. - PhotoDirector:
Offers a full suite of mobile editing tools, including exposure, color, and contrast adjustments, along with special effects and object removal, all in an intuitive interface. - Pixelup:
Focused on enhancing and restoring photo quality using AI technology, Pixelup is capable of upscaling and even colorizing black and white images, making it ideal for refreshing old photos. - Other Mobile Apps:
Apps like Snapseed and Adobe Photoshop Express provide both basic and advanced editing functions, allowing for quick adjustments and immediate sharing on social media.
Practical Tips and Tricks for Effective Photo Editing
Achieving professional results isn’t only about using the right tools—it’s also about following best practices throughout the editing process:
- Always Start with the Highest Quality Original:
Work from RAW files or high-resolution images to preserve as much detail as possible during editing. - Balance Sharpness Carefully:
Excessive sharpening can introduce artifacts and noise; aim for a natural look by testing settings (e.g., Unsharp Mask) at a 1:1 zoom level. - Adjust Exposure and Contrast Gradually:
Small tweaks to exposure, contrast, and brightness can significantly enhance details in both highlights and shadows. Use tools like levels and curves for precise control. - Use Local Adjustments:
Apply selective corrections with masks and brushes to target specific areas, such as brightening a subject’s face or boosting saturation in a particular area. - Experiment with Cropping and Composition:
Sometimes, the simplest solution is to crop out distractions and reframe the subject according to compositional rules like the rule of thirds. - Apply Dithering When Necessary:
When reducing color depth or working with subtle gradients, dithering can help minimize banding and create smoother transitions. - Choose the Right File Format:
Save your final images in formats that best suit their intended use—lossless formats like TIFF or PNG for print and archival purposes, and high-quality JPEGs for web use. - Regularly Back Up Your Work:
Save intermediate versions of your edits to ensure you can revert to previous stages if needed. - Organize Your Workflow:
Maintain a consistent workflow using presets, labels, and folders to streamline your editing process, especially when working with multiple images. - Stay Updated:
The world of photo editing is constantly evolving. Engage with online communities, blogs, and tutorials to keep up with new tools, techniques, and best practices.
Conclusion and Further Resources
Improving photo quality is not just about aesthetics—it’s a critical step in effectively communicating your message, preserving valuable memories, and elevating your brand’s image. In this article, we’ve explored the elements that define photo quality, the key editing techniques, and the best tools available—from professional software to free alternatives, mobile apps, and AI-driven online services. Armed with these strategies, you can make precise adjustments to enhance every aspect of your images, from resolution and sharpness to color and noise management.
For further learning, consider exploring these resources:
- Tutorials and Video Guides: Visit YouTube for step-by-step tutorials on advanced editing techniques with Photoshop, GIMP, Lightroom, and more.
- Online Courses: Platforms like Udemy, Coursera, and Skillshare offer dedicated courses on photo editing and post-production.
- Specialized Blogs and Forums: Follow blogs such as CyberLink and Pixartprinting to stay updated on the latest trends and participate in discussions with fellow enthusiasts.
- Official Documentation: Read the official guides for Adobe, GIMP, Darktable, and RawTherapee for in-depth technical insights.
In conclusion, optimizing your images is an art that combines technique, creativity, and technology. Experiment, learn from your mistakes, and utilize the available resources to turn every photo into a stunning visual masterpiece. With the right approach and the best tools at your disposal, every image can reach a superior level of quality and visual impact.

