Table of Contents
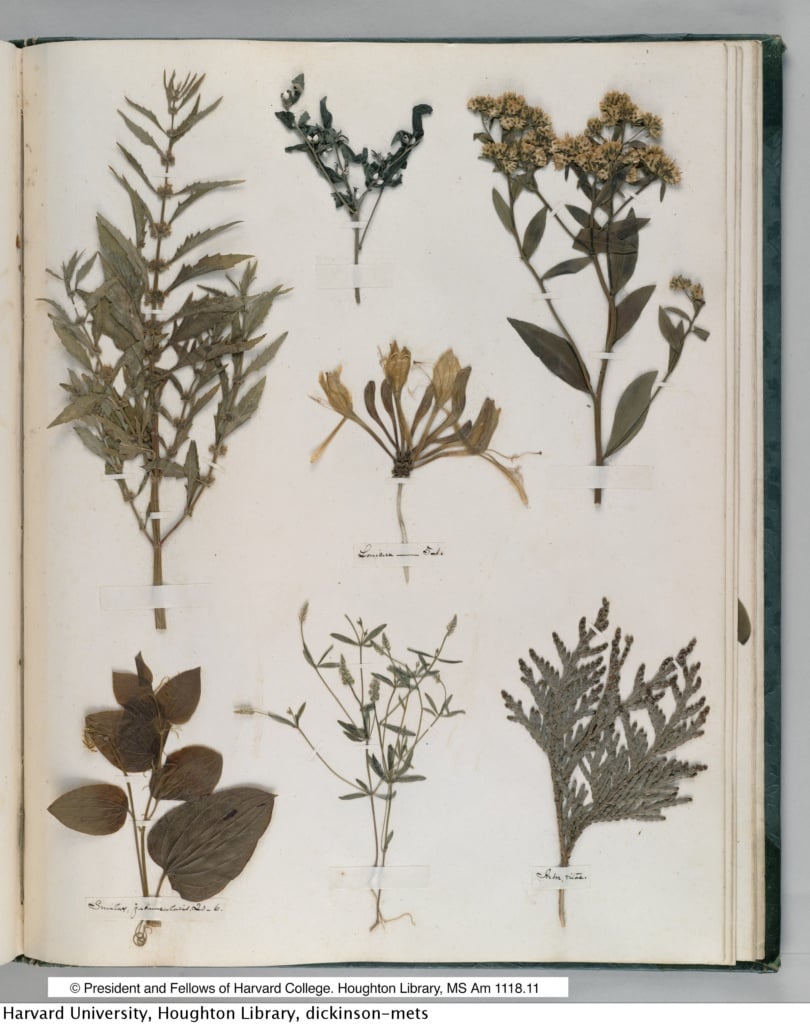
The works of the American poet Emily Dickinson (1830-1886) have been praised as some of the greatest poetry of all time in the English language. What some of her readers may not know is that she is also the author of a scientific document that has served as a source of research for generations of biologists and naturalists around the world. She completed it in 1845, when she was just a 14-year-old teenager studying natural history and astronomy at Mount Holyoke Female Seminary (Massachusetts), subjects that would later permeate her poems. The 66-page manuscript is a catalogue of 424 specimens of local wildflowers that Dickinson collected, arranged and pressed, with the names of the plants written in Latin in elegant calligraphy.
This is what is known as a herbarium, and this particular one has been preserved in the rare books library of Harvard University, and digitalized for the public. And recently, Spanish publisher Ya Lo Dijo Casimiro Parker published a book of photographs of the document, together with an anthology of Dickinson’s poems on the subject of plants, trees and flowers, in a bilingual edition.
What is a herbarium?
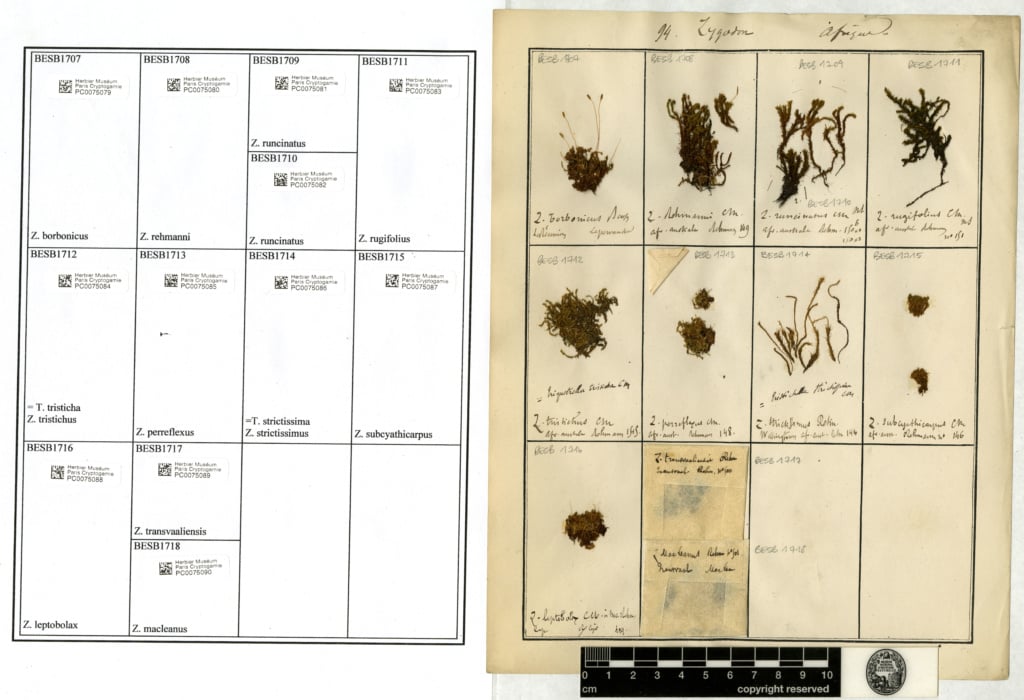 In botany, a herbarium (from the Latin ‘herbarium’) is a collection of preserved plant specimens or parts that are labelled and stored for study, although they can also include mosses, algae, fungi, lichens, seeds, pollen, wood chips, etc. The samples also include vital information such as the identity of the collector, the place and date of collection, the appearance of the plant and the habitat where it was found. The purpose of the herbarium is to keep a systematised representation of the plant diversity within a specific geographical region in time and space, which is why it is so crucial to botanical research.
In ancient times, botanists were already interested in the study of medicinal plants and preserved representative specimens of them. But the practice of drying and mounting them on paper is attributed to Luca Ghini (1490-1556), professor of botany at the University of Bologna, who would send them by post. The technique, very similar to that used today, spread to the rest of Europe through his students and acquired great importance in later centuries thanks to expeditions to unknown territories, where a great diversity of species were collected.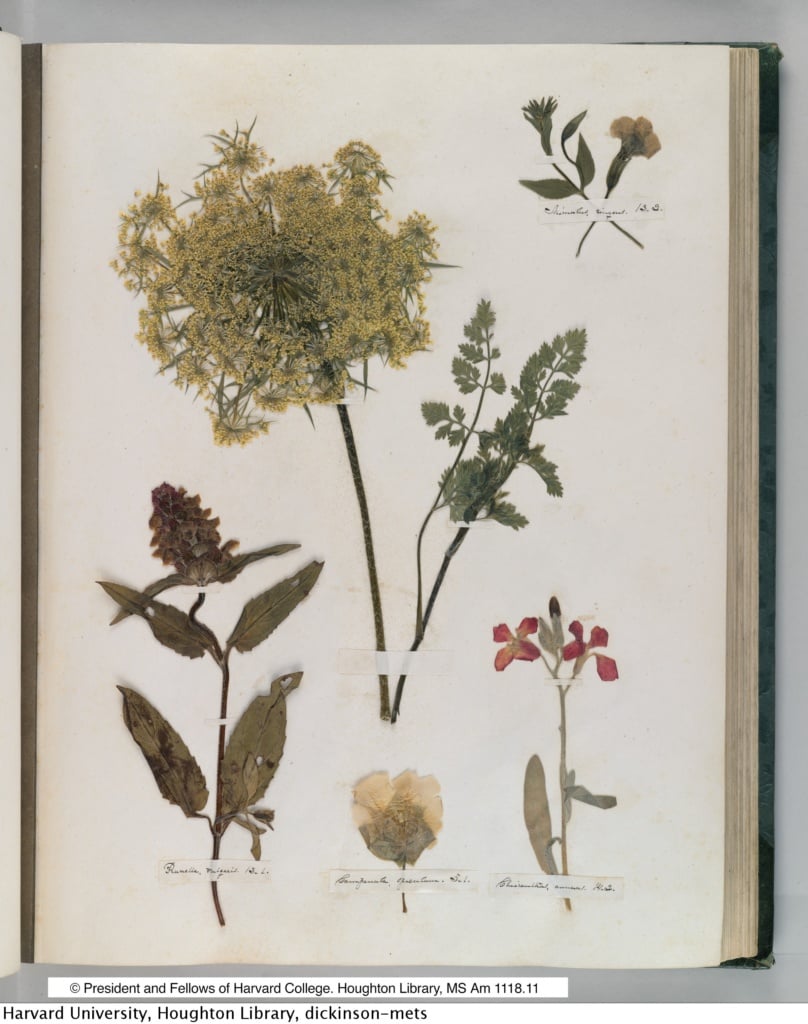
In Ghini’s time, these folded sheets of paper were known as ‘hortus siccus’ (dry garden) or ‘hortus hiemalis’ (winter garden), and not as ‘herbarium’, a term reserved for describing books on medicinal plants. The French physician and botanist Joseph Pitton de Tournefort (1656-1708) is credited with the more generic use of the word to refer to collections of plant specimens. In these early herbaria, the pages were bound in books, but the Swedish naturalist and taxonomist Charles Linnaeus (1707-1778) began to store them stacked in vertical rows on shelves, and they were mostly kept by physicians.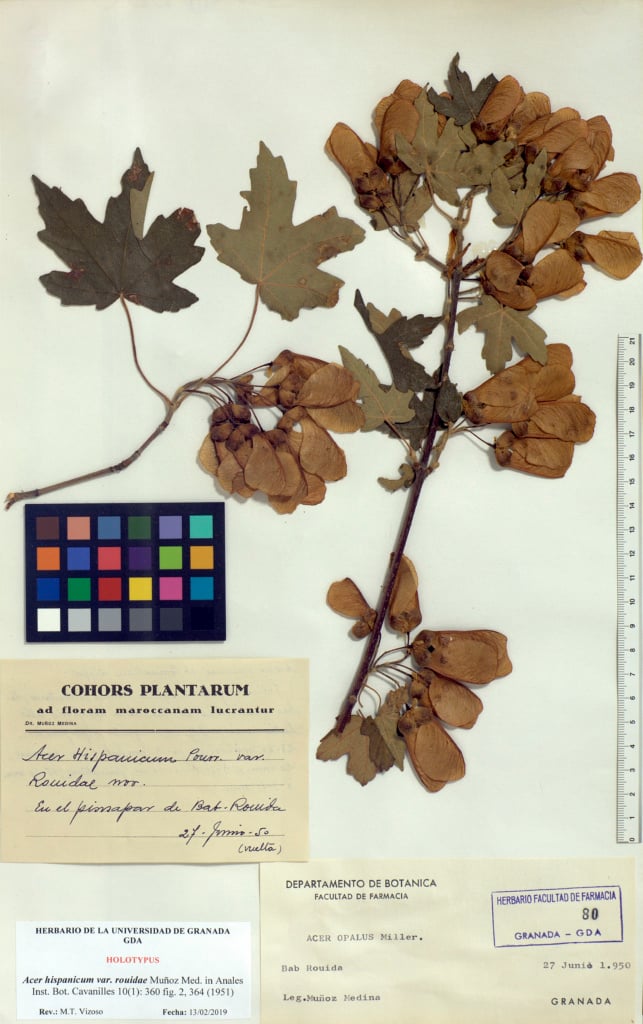
Over time, what were essentially private collections were moved to places specifically designed to house thousands or even millions of specimens, also known as herbaria. Today there are around 3,000 herbaria worldwide, most of them associated with universities, museums, botanical gardens or other research institutions. The oldest was founded in Rome in 1532 by a pupil of Ghini, Gherardo Cibo (1512-1600), and the largest in the world (with between 7 and 9.5 million specimens) are at the Natural History Museum in Paris (France), the Royal Botanic Gardens at Kew (England), the New York Botanical Garden (USA) and the Komarov Botanical Institute in St Petersburg (Russia).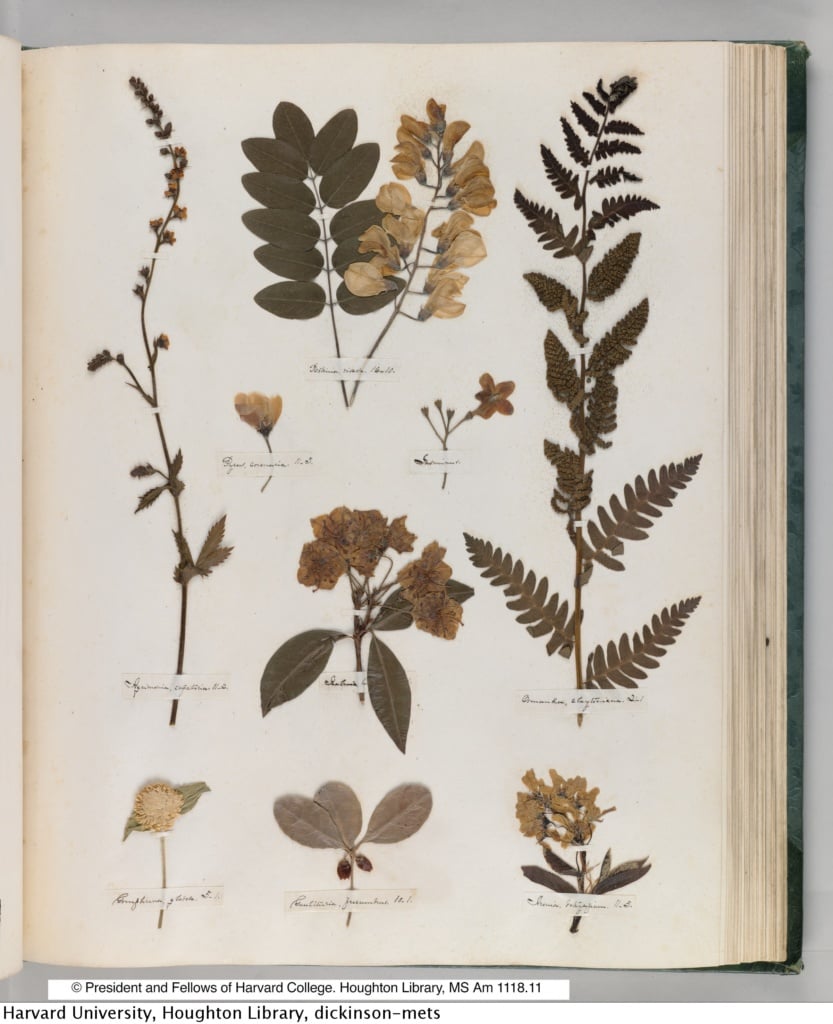
How to make a home herbarium
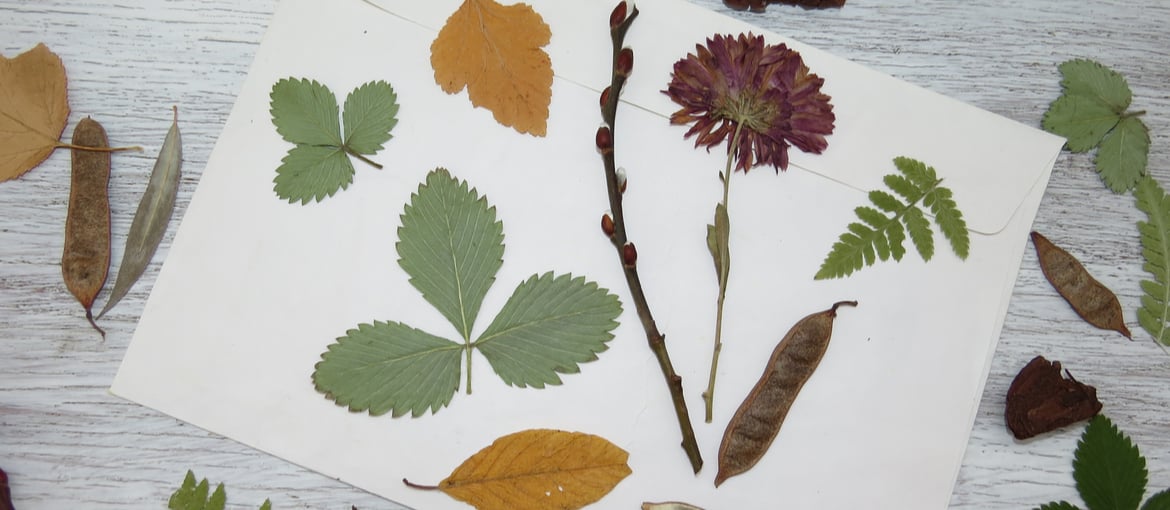
Even though it is technically a scientific document, you can also create a herbarium with the plants around us, using them to create artistic compositions and even accompanying them with poems, thoughts, drawings and notes. The process is very straightforward and consists of just a few basic steps.
1.Prepare your tools
Make sure you’ve got all the tools you’ll need throughout the whole process, and if not, get hold of them. For example, pruning shears and normal scissors, plastic bags, newspaper or corrugated cardboard, labels, pencil or pen and, most importantly, the backing on which you’ll display your collected samples. You can build your own personalised notebook with thick sheets of paper or card, making holes in the margin to insert them in a folder or join them together with a ribbon or string.
2.Collect your material
It is important to be aware of the current legislation on collecting wild flora species and the catalogues of any endangered species, as picking them may be prohibited in certain areas such as protected natural spaces.
The best time of day to collect the samples is in the late morning or early afternoon, so that they are not too dry or too damp. This should be done as delicately as possible, using scissors or shears, ensuring you only cut the part you need to avoid damaging the rest. Then store them in a plastic bag, or in a box or basket if you’re collecting mushrooms.
3.Pressing and drying
To prepare the plant, you need to dehydrate it under pressure as quickly as possible. There are different procedures, but one of the simplest is to place the sample on a couple of sheets of newspaper or corrugated paper (about five or six). Then place more sheets of paper on top, then another sample, then more paper, and so on and so forth until you have covered all the plants you’ve collected. When finished, place a heavy object on top such as books or a brick. You can also make a homemade press using wooden planks. You should wait at least a week, changing the sheets every day or two to prevent them from rotting.
4.Mounting and labelling
Once dried, the samples are fixed to the notebook pages or sheets of paper using glue, adhesive tape, pins, or even sewing them together. Then just carefully write down the plant data: its scientific name, the place and date of collection, the person who collected it, and any other scientific information that may be of interest.

