

Table of Contents
The Newsletter: What Is It in a Nutshell?
A newsletter is a form of communication that can be either printed or electronic, sent to subscribers regularly to provide them with curated content, updates, news, and other interesting information related to a specific topic or business. It serves as an excellent tool for maintaining engagement, building community, and keeping your audience informed and interested in what you or your organization have to offer.
Traditionally, newsletters were primarily distributed in print form, often through the mail. However, with the advent of digital technology, electronic newsletters have become the norm. These are typically delivered via email and can vary widely in content and frequency, ranging from daily to monthly distributions. The flexibility of newsletters makes them a powerful marketing and communication tool, capable of serving a wide variety of purposes, from educational content distribution to promotional announcements.
In essence, a newsletter offers a direct line of communication to your audience, enabling personalized content delivery that can foster stronger relationships and drive engagement more effectively than many other marketing channels.
Effective Methods to Grow Your Subscriber List
Before even thinking about creating a newsletter, it’s crucial to first focus on building a high-quality email list. A strong subscriber base is the foundation of a successful newsletter, and understanding how to continuously grow and enrich your list is key to long-term engagement. Here are some effective strategies to capture emails and expand your audience:
– Lead magnets: Offer a free incentive (e-book, discount, checklist, webinar) in exchange for signing up.
– Well-placed sign-up forms: Add registration forms to your homepage, blog posts, checkout pages, or strategic pop-ups.
– Persuasive calls-to-action (CTAs): Use compelling phrases like “Sign up to receive exclusive content” to boost conversion rates.
– Social media campaigns: Utilise Facebook Lead Ads, Instagram Stories with sign-up links, or TikTok promotions to attract new subscribers.
– Collaborations with brands and influencers: Partnering with complementary brands or digital creators can expand your audience and attract new sign-ups.
– Competitions and giveaways: Offer attractive prizes and require newsletter subscription as an entry condition.
– Exit-intent pop-ups: Display a pop-up when a user is about to leave your website, offering an incentive to subscribe before they exit.
General Tips for Creating a Newsletter
Now that we have our email list, creating an effective newsletter involves more than just writing content and sending it out. It requires thoughtful planning, understanding your audience, and continuously refining your approach based on feedback and results. Here are some general tips to help you get started on the right foot:
– Know Your Audience: Understanding who your readers are, what they care about, and what information they find valuable is crucial. Tailor your content to meet their needs and interests to ensure engagement.
– Set Clear Objectives: Define what you aim to achieve with your newsletter. Whether it’s increasing brand awareness, driving sales, or providing educational content, having clear goals will help guide your content creation process.
– Maintain Consistency: Consistency in the frequency, design, and quality of your newsletter helps build trust and sets expectations for your subscribers. Decide on a schedule—whether weekly, bi-weekly, or monthly—and stick to it.
– Use Engaging Subject Lines: The subject line is the first impression your email will make. Make it catchy and compelling to improve open rates. However, avoid clickbait tactics that could disappoint readers.
– Keep Content Relevant and Varied: Include a mix of content types, such as industry news, tips, interviews, case studies, and updates about your products or services. This variety can cater to different reader preferences and keep them interested over time.
– Optimize for Mobile Devices: With more people reading emails on their smartphones, it’s essential to ensure your newsletter is mobile-friendly. This means using responsive design templates and keeping the layout simple for easy navigation.
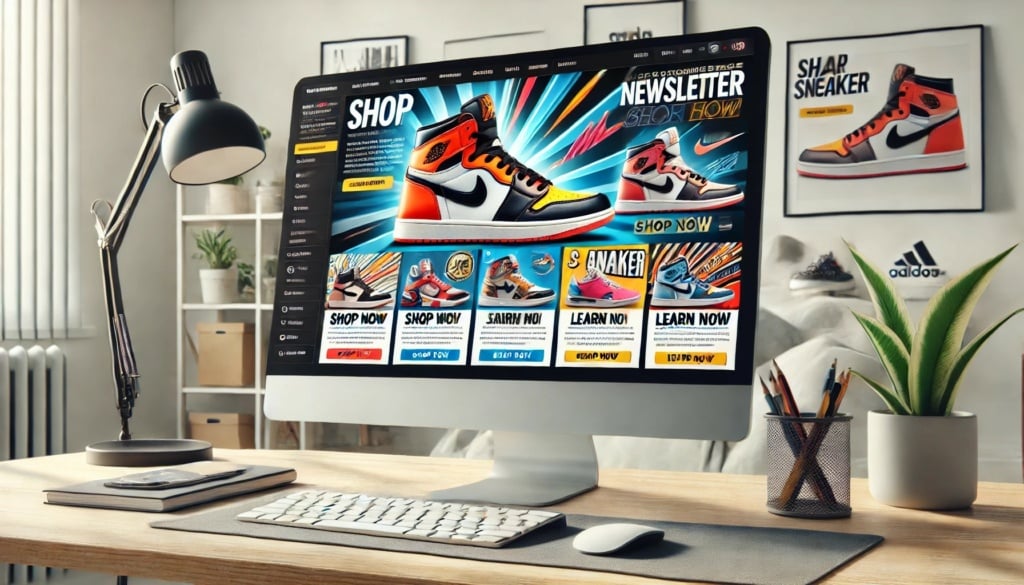
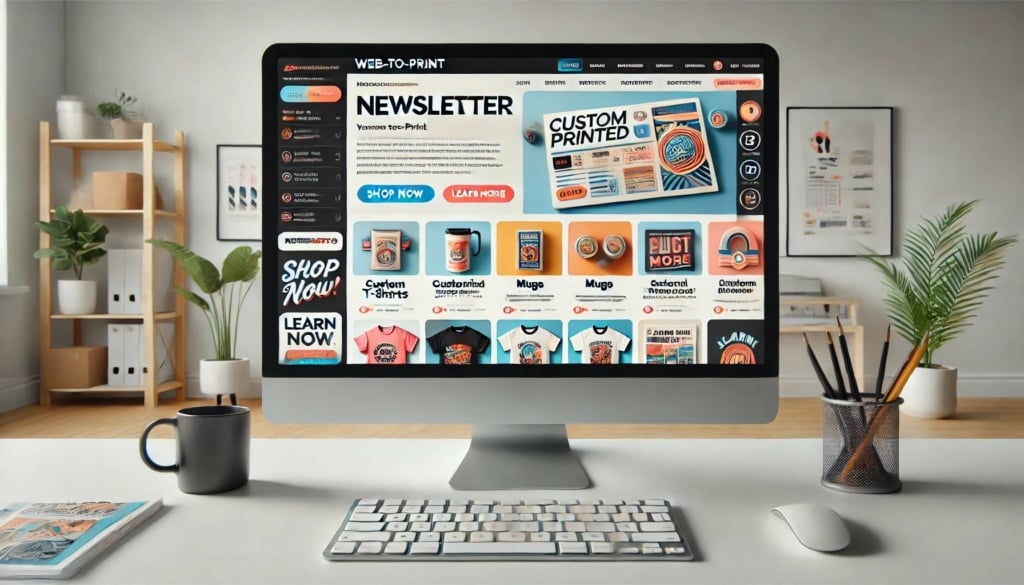
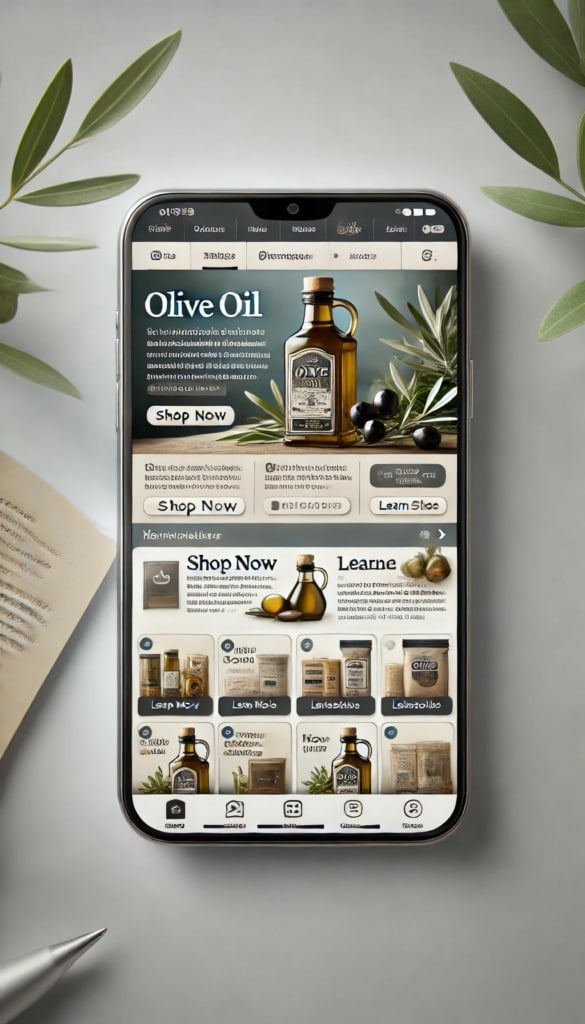
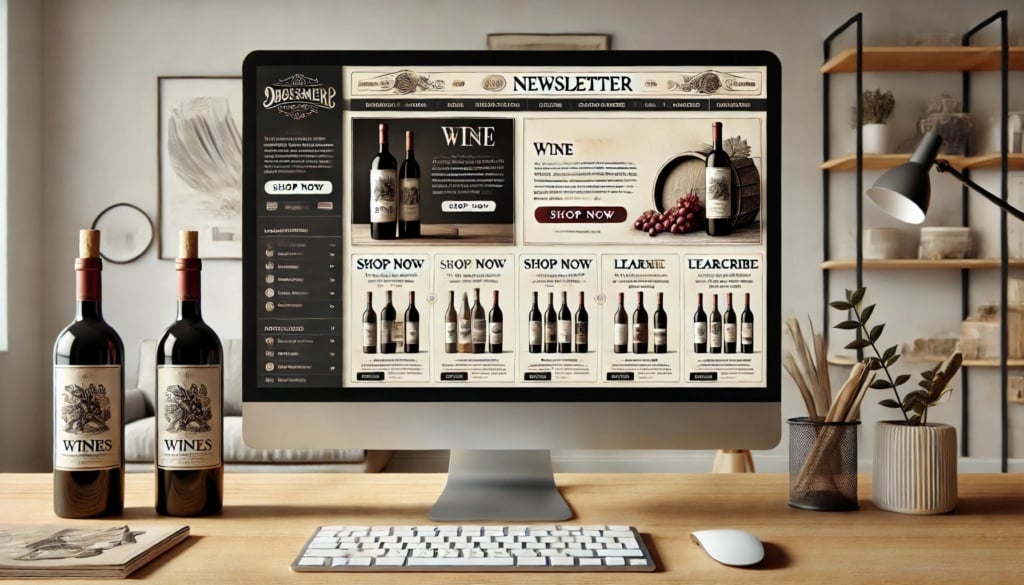
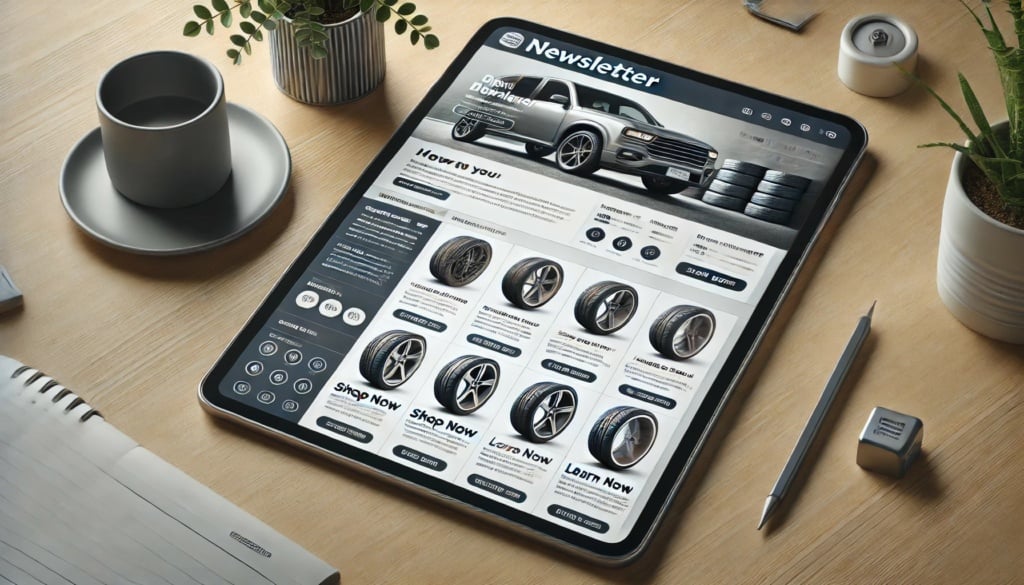
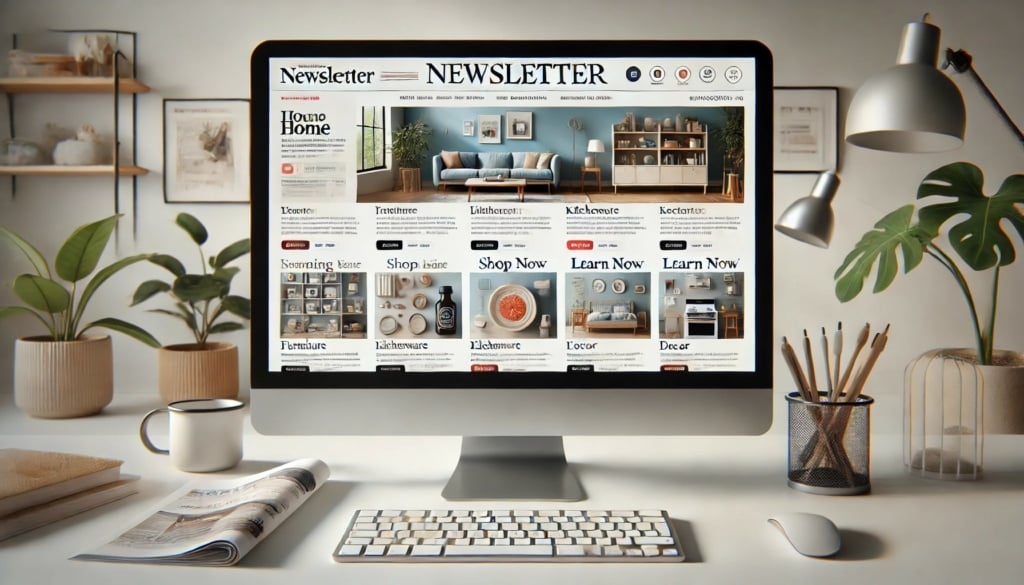
– Incorporate Visuals: Images, infographics, and videos can make your newsletter more engaging and digestible. Visuals help break up text and can explain complex information more effectively than words alone.
– Encourage Interaction: Include calls-to-action (CTAs) that encourage your readers to engage further with your content. This could be links to blog posts, social media platforms, or direct responses to your newsletter.
– Measure and Adjust: Use analytics tools to track open rates, click-through rates, and subscriber feedback. Analyzing this data will help you understand what’s working and what’s not, allowing you to continuously improve your strategy.
Useful Tools for Creating a Newsletter Easily
To streamline the process of creating a newsletter, there are several tools available that can help you design, distribute, and analyze your newsletters effectively. These tools often come with templates, easy-to-use design interfaces, and analytics to track your success. Here’s a list of some popular and powerful tools that you might consider:
– Mailchimp: One of the most widely used email marketing platforms, Mailchimp offers an intuitive design interface, a variety of customizable templates, and robust analytics to track subscriber behavior. It also integrates with various CRM systems and web services.
– Constant Contact: Known for its excellent customer service and user-friendly interface, Constant Contact provides numerous templates and images, making it easy for beginners to create professional-looking emails. It also offers features like social media sharing tools and extensive analytics.
– Campaign Monitor: This tool is great for creating personalized email experiences. It features a drag-and-drop email builder, high-quality templates, and advanced customer segmentation capabilities, allowing you to tailor your content to different segments of your audience.
– Sendinblue: Sendinblue offers email marketing services along with additional functions like SMS marketing and a CRM. It’s particularly noted for its automation features, which allow you to send emails triggered by specific actions taken by users.
– AWeber: AWeber provides a comprehensive set of tools suitable for all types of marketers, from beginners to advanced. It offers responsive email designs, autoresponders, detailed insights, and A/B testing capabilities.
– GetResponse: This platform includes not only email marketing tools but also landing pages, webinar hosting, and automation, making it a versatile choice for marketers looking to do more than just email.
– Canva: While not a traditional email marketing tool, Canva is an excellent resource for creating custom graphics and layouts that can be used in newsletters. It offers a wide range of templates and design elements that can elevate the visual appeal of your email content.
– Adobe Spark: Similar to Canva, Adobe Spark allows you to create visually engaging newsletters with professional-looking templates and easy-to-use design options, which can then be imported into your email marketing service of choice.
Using these tools, you can create visually appealing, effective newsletters with less effort, allowing you to focus more on content and strategy. Whether you’re a small business, a large corporation, or a solo entrepreneur, these tools can adapt to your needs and help enhance your email marketing efforts.
Tips for Effective Newsletters
Crafting effective newsletters that capture attention and engage readers requires a blend of creativity, strategic planning, and technical know-how. Here are some advanced tips to elevate your newsletter content and maximize its impact:
– Segment Your Audience: Tailor your content to different segments of your audience based on their preferences, behaviors, or demographic data. This personalization can significantly increase engagement rates by making content more relevant to each subscriber.
– Write Compelling Content: Focus on delivering value through your content. Whether it’s insightful articles, industry news, helpful tips, or exclusive offers, make sure that what you’re sending is both interesting and useful to your audience.
– Maintain a Clean Design: A cluttered newsletter can be off-putting. Use white space effectively, keep your layout clean, and organize content in a way that guides readers through the message. Prioritize readability with appropriate fonts and colors.
– Use Strong Calls-to-Action: Every newsletter should have a purpose. Whether it’s driving traffic to your website, promoting a product, or encouraging participation in an event, clear calls-to-action (CTAs) should guide readers on what to do next.
– Incorporate Social Proof: Testimonials, case studies, and user-generated content can build credibility and trust. Showcasing real-life examples of satisfied customers or successful projects can be very persuasive.
– Test and Optimize: Conduct A/B testing on different elements of your newsletter, such as the subject line, design, content, and CTAs. This testing can reveal what resonates best with your audience and help refine future editions.
– Ensure Deliverability: Avoid spam triggers in your emails, like excessive links or certain keywords. Ensure your email list is up-to-date and that subscribers have opted in to receive your communications, reducing bounce rates and improving deliverability.
– Be Consistent but Not Predictable: While consistency in timing and quality is key, try to surprise and delight your readers with new content types or unexpected offers. This keeps the newsletter exciting and can boost open rates.
– Educate and Inform: Don’t just sell; educate. Provide your readers with valuable information and insights that can help them in their daily lives or work. This positions your newsletter as a valuable resource, not just another sales pitch.
– Monitor Analytics: Keep an eye on metrics such as open rates, click rates, conversion rates, and unsubscribe rates. These indicators can help you understand subscriber behavior and preferences, guiding the evolution of your newsletter strategy.
How to Create a Mailchimp Newsletter
Creating a newsletter using Mailchimp is a straightforward process, thanks to its user-friendly interface and powerful tools. Here’s a step-by-step guide to help you get started:
Step 1: Sign Up and Set Up Your Account
If you haven’t already, go to Mailchimp’s website and sign up for an account. Once registered, you’ll need to provide some information about your business and import your email list. You can upload your contacts through a CSV file or manually enter them.
Step 2: Create a New Campaign
Log into your dashboard, navigate to the ‘Campaigns’ tab, and click on ‘Create Campaign’. Choose ‘Email’ and then select ‘Regular’. Give your campaign a name that helps you easily identify it later.
Step 3: Design Your Email
– Select a Template: Mailchimp offers a variety of templates to suit different needs, from basic layouts to more sophisticated designs. Choose one that matches the style and tone of your newsletter.
– Customize the Template: Use the drag-and-drop editor to add elements like text boxes, images, buttons, and social media links. You can customize fonts and colors to match your brand’s visual identity.
– Add Content: Populate your template with content. Be sure to include engaging headings, concise and compelling text, and visually appealing images. Organize the information logically, ensuring it flows well and is easy to read.
– Include Personalization and Tags: Use Mailchimp’s tools to personalize the greeting or content based on subscriber data, such as using their first name in the salutation.
Step 4: Configure Recipients
– Choose Your Audience: Select who will receive this email. You can send it to your entire list or segment the list based on criteria like location, behavior, or engagement level.
– Segmentation and Conditional Content: For more targeted messaging, use advanced segmentation to customize content for different subscriber groups within the same email.
Step 5: Set Up the Subject and Preview Text
Craft a compelling subject line and preview text. These are crucial as they influence whether subscribers will open the email. Utilize Mailchimp’s suggestions and best practices to maximize open rates.
Step 6: Test and Preview
Use Mailchimp’s preview and test features to see how your email looks on different devices and email clients. Send test emails to yourself and your team to check for any issues or typos.
Step 7: Schedule or Send
Once you’re satisfied with your newsletter, you can either send it immediately or schedule it for a later date and time. Mailchimp allows you to optimize the send time based on when your subscribers are most likely to open emails.
Step 8: Analyze the Results
After sending your newsletter, monitor its performance through Mailchimp’s reporting tools. Look at metrics such as open rates, click rates, and conversions. Use these insights to refine future newsletters.
Creating a newsletter with Mailchimp doesn’t just involve sending out emails—it’s about crafting engaging content and continuously improving based on subscriber interaction and feedback.
How to Create an Outlook Newsletter
Creating a newsletter in Microsoft Outlook involves using the email composition tools to design, format, and send your newsletter directly to your list of subscribers. While Outlook isn’t as feature-rich as dedicated email marketing software, it can still be used effectively for simpler newsletter campaigns. Here’s how to create a newsletter using Outlook:
Step 1: Open Outlook and Start a New Email
Launch Outlook and click on `New Email` to start composing your newsletter. This will open a new message window where you can begin the design process.
Step 2: Set Up Your Email Format
– Choose a Layout: Outlook allows you to format your email using HTML or plain text. For a newsletter, HTML is recommended because it supports the use of images, different fonts, and layouts. You can set this by going to `Format Text` and selecting `HTML`.
– Adjust the Margins: To give your newsletter a more refined look, you might want to adjust the margins. Go to the `Page Layout` tab and set the margins to ensure your content is well-spaced.
Step 3: Insert a Table for Structured Layout
To create columns or specific sections within your email, insert a table:
– Click on `Insert` and then `Table`.
– Choose the number of rows and columns you need to structure your content effectively.
– You can hide the borders later if you don’t want them to appear in the final product.
Step 4: Add Content
– Text: Type your content directly into the table cells or copy and paste from another document. Use the formatting tools to apply different fonts, sizes, and colors.
– Images: To add images, go to `Insert > Pictures`, select the image from your computer, and place it where you want it in your newsletter. Ensure the images are appropriately sized and aligned.
– Links: You can turn any text or image into a hyperlink by selecting it, right-clicking, and choosing `Hyperlink`. Then, enter the URL you want to link to.
Step 5: Customize with SmartArt or Charts
If you want to include more sophisticated graphical elements:
– Use `Insert > SmartArt` for graphic lists, cycles, or hierarchy diagrams.
– Use `Insert > Chart` to add a chart and fill in your data directly in Outlook.
Step 6: Finalize the Layout
Once all content is in place, adjust the alignments, fonts, and spacing to make sure everything looks balanced and professional. Check that all hyperlinks work correctly by clicking on them.
Step 7: Preview and Test
Send a test email to yourself or to a small group of colleagues to ensure everything displays correctly across different devices and email clients. This step is crucial to catch any formatting issues before sending it to the entire list.
Step 8: Send Your Newsletter
Once satisfied with the design and functionality, enter your recipients in the `To` field, or use a contact group if you have one set up. Craft a compelling subject line to increase open rates, then click `Send` to distribute your newsletter.
Step 9: Follow Up
After sending, you might want to monitor any replies or feedback if your Outlook is set up to handle responses. This can provide valuable insights for future newsletters.
Creating newsletters in Outlook is more suited for internal communications or small-scale mailings. For larger or more complex email marketing campaigns, consider using dedicated tools designed for that purpose to take advantage of more advanced features like analytics and automated sending.
How to Create a Newsletter with Microsoft Word
Creating a newsletter in Microsoft Word is a good option for those who may not have access to specialized email marketing tools but still want to produce a professional-looking document. Here’s a step-by-step guide on how to create an effective newsletter using Microsoft Word:
Step 1: Open Microsoft Word
Start by opening Microsoft Word. You can create a new document from scratch or explore the templates Word offers by going to `File > New` and typing “newsletter” in the search bar. Microsoft Word provides a variety of newsletter templates that can serve as a good starting point.
Step 2: Choose a Template
Select a template that best fits the style and format you need. Word’s templates are customizable, which allows you to maintain your brand identity by adjusting colors, fonts, and layouts.
Step 3: Modify the Layout
– Edit the Header: This typically involves adding your newsletter title and, optionally, the issue number and date. You can make it eye-catching by incorporating your company logo and adjusting the header’s color scheme to match your brand.
– Adjust the Columns: Most newsletters are divided into columns to organize content effectively. You can adjust the number of columns by going to `Layout > Columns` and choosing the number that suits your design.
Step 4: Add and Format Content
– Text: Click on the text boxes to add your articles, headlines, and content. Use styles for headings, subheadings, and body text to ensure consistency throughout the document.
– Images: Insert images by clicking `Insert > Pictures`. Choose high-quality images relevant to the content and align them appropriately with the text for a clean, professional look.
– Hyperlinks: If your newsletter will be distributed digitally, you can insert hyperlinks into the document by selecting the text or image you want to link from, then going to `Insert > Link` and entering the URL.
Step 5: Incorporate Design Elements
Add additional design elements such as pull quotes, sidebars, or infographics by using `Insert > Shapes` or `SmartArt` to make information more visually appealing and easy to read.
Step 6: Proofread and Edit
Carefully review your newsletter for any grammatical errors or typos. It’s helpful to have another person proofread it as well to catch any mistakes you might have overlooked.
Step 7: Save Your Newsletter
Once your newsletter is ready, save the document. If you’re sending it electronically, it’s a good idea to save it as a PDF to preserve the layout and formatting. Go to `File > Save As` and choose PDF from the file format options.
Step 8: Distribute Your Newsletter
Finally, distribute your newsletter to your audience. If it’s a digital copy, you can email it directly to your mailing list or share it through your website or social media platforms. If it’s a printed version, ensure it’s printed in high quality to maintain the professional appearance.
Using Microsoft Word to create your newsletter offers flexibility and accessibility, making it a practical tool for those just starting out with newsletter design or businesses with simpler needs.