Table of Contents
Calligraphy is about the pleasure of taking a moment to yourself, far from technology, to concentrate on the pen and forget everything else. But it is also about the desire to use ancient tools, beautiful pigments and quality paper. So what to choose to get started? Pixartprinting brings you its tips for putting together a quality calligraphy starter kit.
1/ A pen holder
The pen holder is hands down the accessory that we love most about calligraphy. Choose a wooden one (we strongly advise against plastic), either oblique or straight, depending on the type of calligraphy you do. The straight pen holder is recommended for beginners, while the oblique one is used for certain types of script, such as roundhand calligraphy, which needs a pronounced angle.
https://www.instagram.com/p/BgS9jC_gLVU/?utm_source=ig_web_copy_link
2/ A pointed nib
The pointed nib is used for copperplate script.It is used with a straight or elbow pen holder and does not have a reservoir, which means it has to be dipped regularly. Pointed nibs have a tip that opens when pressure is exerted, creating beautiful effects. Various quality brands are available on the market, such as Hunt (21 and 22), Nikko G, Brause Rose and Zebra G.

3/ A stub nib
The stub nib is used for traditional scripts (except copperplate) like Gothic, chancery hand and uncial. It is used with a straight pen holder and has a large reservoir beneath it. They are generally numbered to designate the width of the tip in millimetres. Various brands are available, among the most well-known being Brause (Bansung), a commonly used professional nib; Speedball, recognisable by its yellow brass reservoir and great for gestural calligraphy; the very flexible Hiro; and the Mitchell nib with a brass reservoir beneath it.
4/ A pot of ink
We do not recommend India ink, which tends to coagulate quickly in nib reservoirs. If, however, you really want to, Sennelier India ink is good quality. Otherwise, coloured inks (even blacks) are an excellent alternative for beginners but age poorly, their colours tending to fade with exposure to UV light. A left-field option is walnut wood stain. A natural product that is stable over time, you will find it in DIY stores. Finally, water colours and extra-fine gouaches are also practical and good value.

5/ Workbooks
Because beginners rarely just get stuck in, we’ve selected three books to guide you through your first words. Calligraphy by Claude Médiavilla (Scirpus Publications), ‘The Art of Calligraphy’ by David Harris (DK) and ‘Calligraphy: A Complete Guide’ by Julien Chazal (Stackpole Books). In these you will find the basics of historical techniques, advice on writing instruments and hand positions as well as, most importantly, worksheets to practice on.
6/ Paper
To begin with, a Rhodia notepad with small squares will do nicely and serve as a useful guide for letter size (and the A3 version will allow you to do long practice lines). As for colours, Canson Mi-Teintes is the gold standard. Normal photocopier paper is also excellent.
7/ Other bits and bobs
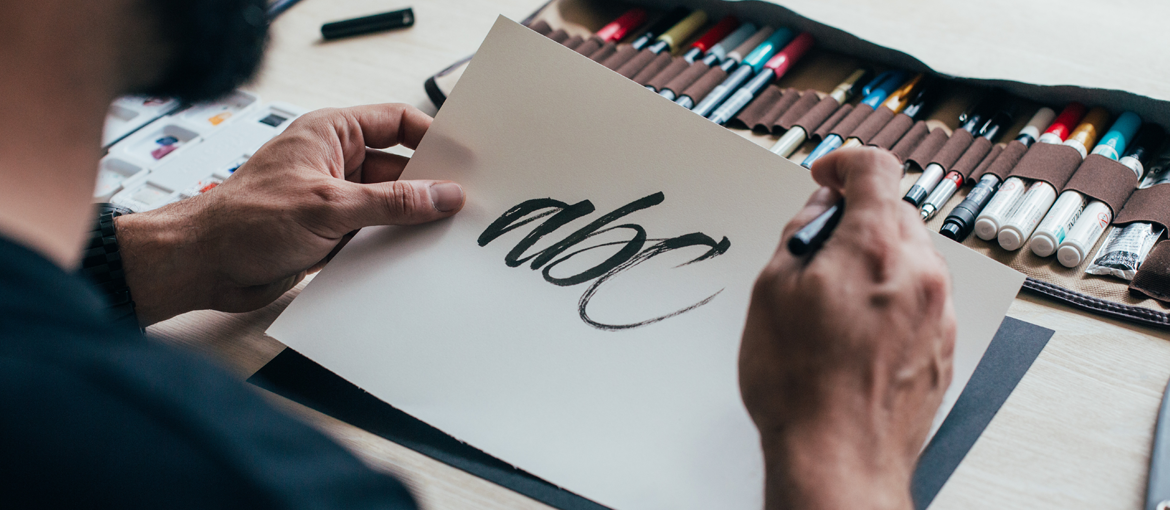
You’ll also need a ruler or set square for creating guidelines, a rubber for erasing purposes, a pencil, a drawing pen (Micron) and, possibly, brush pens, which are easier to get to grips with initially than calligraphy pens.Armed with these supplies, you’re sure to succeed!

